Tuesday, June 30, 2015

Saving Seeds - Telopea Truncata


I just love Waratahs, and being Tasmanian, I'm particularly fond of Telopea Truncata the Tasmanian Waratah.  They flower in October/November and their vibrant colour has to be seen to be appreciated.  It's one of those colours that's difficult to photograph.
After the recent flowering season, I decided to have a go at some serious seed collection, so I left some flowers on the bushes and allowed them to form pods.  The waratah 'flower' is actually a group of flowers all arranged for maximum impact.  Each individual stamen represents a flower that will potentially be fertilised.   


This diagramatic illustration of the Telopea Speciosissima shows the structure, similar to the Tassie Waratah.  You can see at the bottom centre the progression of the individual flowers that make up what we call the Waratah.  


The seed pods are a bean-like shape.  They hang down from the position of the original flowers in groups, the number depending on how many flowers have been pollinated.  They are firstly green, and as they mature they turn brown and become more woody.


If left on the tree, they ripen and the warm autumn and winter sun splits them, causing them to reveal their seeds.  Ideally, it is best to pick the pods as they are maturing and becoming a woody brown, but before they split.  The structure of the seeds is such that they are easily knocked out of the pod and dispersed, and this can be frustrating if you are collecting. 


Its far better to bring them inside as they mature and allow them to sit on a warm windowsill in a container the catch the seeds.  Alternatively, place them in a paper bag and sit them somewhere warm where they can ripen fully.


When they do, the seeds are easily shaken or lifted out, revealing a pod that shows indentations where the seeds have been.  


The seeds are winged with a papery appendage that is veined like an insects wing, presumably to aid dispersal in the wind.  Quite beautiful!


I planted some seeds in Autumn, in a free draining mix in an open tray.  They sat inside on a warm windowsill and I misted them daily.  Around 3 weeks later, green shoots emerged!  


Such an exciting and rewarding little exercise!  The initial leaves were unlike the typical waratah leaf, of course, but then appeared the second set of leaves with a more familiar shape.  


As they grew I potted them on, and I'm now looking forward to seeing them mature enough to plant out in the field.

If you'd like to have a go at growing your own Tasmanian Waratah seedlings, I have plenty of seeds available in the Swallows Nest Farm online shop (click on link to take a peek)

Monday, June 22, 2015

DIY Bush Wedding in March


In March this year, I supplied flowers for a wedding held on a local property here on the beautiful Tasman Peninsula.  When I delivered the flowers on the morning of the wedding, I could see why the couple were keen to have their wedding here.  A gorgeous bush property right next to the water on Norfolk Bay - a great place for a memorable wedding.  

The colour scheme was pink and pretty, with native blooms, and the idea was for the bride and groom to do their own decorating and possibly the bouquets.  


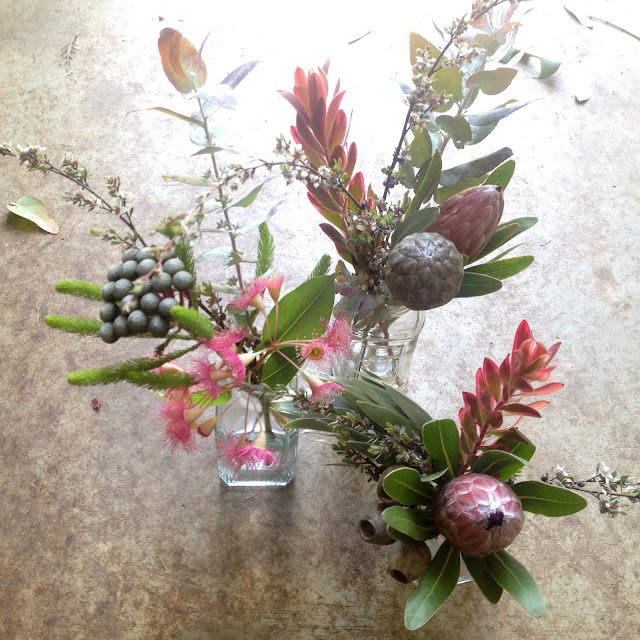
In the end, I supplied the brides bouquet, and what fun it was to play with such gorgeous colours and textures.  Corymbia Ficifolia is the name of the gum that produces those spectacular pick blossoms.  The same tree also produces the silvery grey gum nuts.  Protea Pink Ice were perfect in the mix, with pink Kangaroo Paw called Bush Pearl.  A locally occurring grey-leafed tea tree which was in flower, and the gorgeous pink tinged silvery jade of the Eucalyptus Crenulata were the main foliage used.  

I also used Brunia Albiflora, at its peak in March in Tasmania.  Silver Tree cones were used too, and a sprinkling of various leucadendrons including Jester a variegated pinky one.  


To save time,  I made the boutonnieres too.  The E. Crenulata was the main foliage again, with added wax flower.


The grooms boutonniere also had a Corymbia Ficiolia nut, and some blossom from the same tree - this years and last years blooms.  Pink Kangaroo Paw, and a silvery cone from the Leucadendron Galpinii which has lovely purple foliage throughout the year and makes these silvery cones in late summer and autumn.


The smaller boutonniere had a little touch of the feathery foliage from the Brunia Albiflora.  I also love the little pink buds from the gum blossom that hasn't yet flowered.  So pretty!


A floral crown for the bride was a late addition.  It was to be quite large, with a loose fit and a spray of flowers of the left side of the face.  


The body of the crown was made with the blue-grey tea tree.  E. Crenulata softened the addition of more pink Kangaroo Paw, Corymbia Ficifolia blossom and nuts, and more of those buds that were yet to flower.  


Such a pretty combination of colours and textures!


The DIY element of the wedding required a fair bit of planning.  The unstructured look of multiple vases looks effortless but really requires some thought.


Bunching up the extra gum nuts for the table decorations created this gorgeous sculptural bunch.


And more gum blossom in that stunning pink looked great en masse too.


Bundles of foliage and lots of Brunia and Silver Tree cones filled up the box quickly.  


And it was left for the wedding party to make the extra bouquets and the wedding decorations from this box of goodness.


I had made some "mock-up" decorations to check that the overall look would work.  


I think the combinations worked well.  


It was such a pleasure to be involved in this DIY bush wedding!